Acoustic panels are essential for improving indoor sound quality, reducing echo, and minimizing noise pollution in spaces like home theaters, offices, classrooms, conference rooms, music studios, and restaurants. Proper installation is critical for maximizing their performance.
Key Preparation Before Installation
1. Acoustic Assessment
Evaluate the room’s size, shape, and sound behavior.
Identify primary reflection points, corners, and walls where sound echoes.
2. Material & Tools Checklist
Materials:
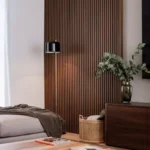
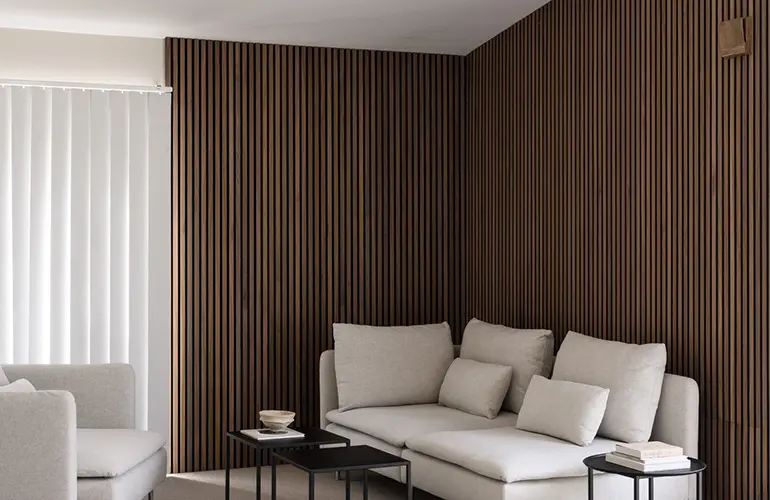
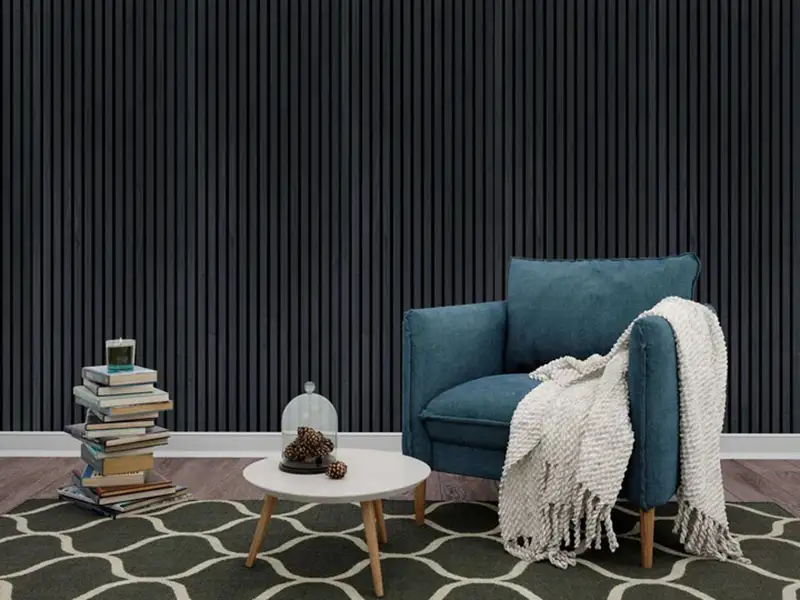
Acoustic panels (PET, foam, wood slat, fabric-wrapped, etc.)
Adhesives or mounting brackets
Optional: acoustic sealant
Tools:
Measuring tape,Level,Pencil or chalk,Drill and screws (if wall-mounting),Utility knife (for trimming if needed)
Installation Methods Based on Panel Type
1. Adhesive Mounting (Glue Method)
Best For: Lightweight foam or polyester fiber panels
Steps:
Clean the surface (dust-free and dry).
Apply strong adhesive glue or double-sided tape to the panel’s back.
Press the panel onto the wall and hold for 30 seconds.
Use a level to ensure alignment.
Pros: Quick, DIY-friendly
Cons: Difficult to remove later, may damage paint
2. Z-Clip or Hook-and-Loop Fasteners
Best For: Fabric-wrapped or wood acoustic panels
Steps:
Attach one side of the clip or fastener to the wall with screws.
Attach the matching clip on the panel’s back.
Align and press the panel into place.
Pros: Removable, secure hold
Cons: Requires drilling
3. Screw Mounting (Direct Fixing)
Best For: Heavier panels like wood slat, Akupanel, or rock wool core panels
Steps:
Mark drill holes on the wall using the panel as a template.
Drill holes and install wall plugs (if necessary).
Screw the panel into place.
Use decorative caps to cover screw heads.
Pros: Very secure
Cons: Permanent, requires precision
4. Standalone Acoustic Frames (Freestanding)
Best For: Temporary setups or rental spaces
Steps:
Insert acoustic panel into a pre-made metal or wooden frame.
Place the frame in the desired location.
Pros: No wall damage, movable
Cons: Occupies floor space
5. Ceiling Suspension or Grid Installation
Best For: Hanging ceiling clouds or baffles
Steps:
Install ceiling hooks or grid suspension system.
Attach wires or hanging hardware to panels.
Adjust the height and spacing.
Pros: Reduces vertical echo
Cons: Requires ladder and ceiling drilling
Panel Placement Strategy: Acoustic Optimization
Home Theater: First reflection points, ceiling, rear wall
Office: Behind desks, meeting corners
Music Studio: Behind monitors, side walls, bass traps in corners
Classroom: Rear wall, side walls, ceiling
Conference Room: Front and side walls, ceiling
Restaurant: Ceilings and side walls for echo control
Step-by-Step Installation Procedure (Standard Wall Mount)
1.Measure & Plan:
Mark the wall layout using a tape measure and level.
Space panels evenly with 1–2 inches of gap (if required).
2.Panel Prep:
Unpack panels 24 hours before to acclimatize.
Inspect for damage or deformation.
3. Mounting:
Use your selected method (adhesive, screw, clip, or frame).
Align panels using a level and press firmly.
4.Finishing Touches:
Seal edges with acoustic caulk (optional).
Clean surfaces with a dry cloth.Stagger panel rows for a visually balanced and more effective sound diffusion:
Leave a 1-inch air gap behind panels for enhanced bass absorption (optional).
Combine vertical and horizontal placement for broader frequency coverage.
Don’t cover electrical outlets—cut out holes neatly using a utility knife.
Ensure symmetry in placement, especially in music and mixing rooms.
Maintenance After Installation
Vacuum gently with a brush attachment every 2–3 months.
Spot clean with mild detergent and water if stained.
Check for loose edges and reapply adhesive or screws if needed.
Installing acoustic panels correctly is a blend of art and science. It improves not only the sound quality of a room but also its aesthetic appeal. Whether you’re a DIY enthusiast or hiring a professional, following the right method ensures long-lasting performance and soundproofing comfort.